Editorial owner: Genflow Editorial · report a factual correction
Research and product review completed: September 7, 2026
To make AI video shots cut together, review the exit state of one clip against the entry state of the next. Check subject and product identity, position and screen direction, lighting and environment, prop state, motion phase, and audio. Record the mismatch, decide whether it is visible at the intended cut, and repair the smallest unit that can restore continuity.
A beautiful clip can still be unusable in a sequence. This checklist starts after individual shots exist. Use the storyboard template before generation and the prompt repair log when one shot fails on its own.
Create a Cut Continuity Ledger
Make one row for every cut, not one row for every clip.
Sequence / cut ID:
Left clip and approved take:
Right clip and approved take:
Intended cut time and transition:
Left exit frame:
Right entry frame:
Identity / product result:
Position / screen direction result:
Lighting / environment result:
Prop / wardrobe / surface-state result:
Motion result:
Audio result:
Severity: invisible / tolerable / distracting / story-breaking
Smallest repair:
Replacement take or edit:
Reviewer and evidence receipt:
The ledger prevents a common review error: approving clips in isolation, then discovering during editing that nobody owns the space between them.
Step 1: freeze the approved anchors
For each recurring person, product, set and graphic, select the reference that defines what “same” means. Record the source file, crop, orientation and details that cannot change. For a product, that can include cap geometry, label layout, color, material, fill level and which face points toward camera. For a person, use only references and likenesses your team is authorized to use.
Do not let a generated frame silently become the new truth. If shot two changes a bottle shoulder or wardrobe seam and shot three uses that error as its reference, the sequence can drift while appearing internally consistent. Keep the approved anchor beside every cut review.
Current tools may accept first frames, last frames or visual references, but those controls guide a generation; they do not certify the finished transition. Google documents first-and-last-frame control for supported Veo paths, while Adobe and Runway describe model-dependent reference controls. Treat the output as a candidate and inspect it.
Step 2: compare the six continuity dimensions
1. Identity and product truth
Compare silhouette, proportions, face or product geometry, material, color, text, logo placement and small recurring marks. Review at the delivery crop, then zoom into details that carry identity. A clean cut cannot hide a changed product variant or a different person.
2. Position and screen direction
Mark where the subject exits the left frame and enters the right. Check gaze, travel direction, camera side, eyeline and relative scale. A character walking screen-right should not appear to reverse direction after a straight cut unless the storyboard intentionally establishes the change.
3. Lighting and environment
Compare key-light direction, color temperature, shadow length, time of day, weather, background geometry and depth. Grade can reduce a color mismatch, but it cannot fix a window, doorway or horizon that moves to a different place.
4. Prop, wardrobe and surface state
Record object count, placement, open/closed state, liquid level, garment details, damage, condensation and other story state. “Same table” is too vague if the cup moves from the subject's right hand to the left side of frame.
5. Motion phase
Scrub the final eight to twelve frames on the left and the first eight to twelve on the right. Compare speed, pose, camera velocity and the phase of the action. A hand that is still rising cannot begin the next shot already resting without a motivated time jump.
6. Audio and speaking state
Check room tone, music phase, voice, lip state, dialogue timing and transient sounds. Native audio can be useful, but a visual match does not make two independently generated ambience beds continuous. Decide whether the final audio comes from the generated clip or the edit timeline, and record that choice.
Use a two-frame contact strip before watching the sequence
Export the final frame of the left clip and first frame of the right clip into a side-by-side strip. This removes motion and makes identity, geometry, lighting and prop changes easier to see. Annotate only observable differences; do not start with a vague score.
Then watch the cut three ways:
- At normal speed with final crop and overlays.
- Frame by frame around the edit point.
- Muted, then audio-only, so one channel cannot conceal a problem in the other.
The vertical video safe-zone guide covers overlay and crop collisions. Continuity review should use that final framing, not an uncropped master that viewers will never see.
Route the smallest repair
| Mismatch | First repair to test | Escalate when |
|---|---|---|
| Color or exposure shifts, geometry matches | localized grade or exposure match | the light direction or material itself changed |
| Cut happens during an awkward motion phase | move the cut or use a short bridge | no usable overlap exists |
| Entry frame is wrong but most of the right clip works | trim, replace the opening, or regenerate the right side from the approved boundary | identity drifts through the whole clip |
| Product, face or wardrobe changes | regenerate the affected shot from the approved anchor | the source reference is ambiguous or unauthorized |
| Background geometry jumps | use a motivated insert/bridge or rebuild one shot | the spatial relationship matters to the story |
| Audio ambience or dialogue state breaks | rebuild the edit-timeline audio handoff | mouth movement or action timing is also wrong |
Do not regenerate both clips by default. That discards two approved states and creates two new unknowns. Close one ledger row before opening more variants.
A five-cut acceptance pass
For a short ad or scene, review in this order:
- Story pass: does time, action and attention progress clearly?
- Identity pass: do recurring people and products remain the approved ones?
- Space pass: do screen direction, eyeline, scale and set geography make sense?
- State pass: do props, wardrobe, surfaces and claims remain true?
- Finish pass: do crop, grade, audio, captions and transition survive delivery?
A cut can be intentionally discontinuous. If so, record the reason: time jump, match cut, montage, dream state or deliberate reveal. “Intentional” should describe the editorial device, not excuse an unexplained generation error.
How this maps to Genflow
Genflow can organize reusable AI image and video workflows. Its current model configuration includes text-to-video, keyframe-to-video and reference-to-video paths, with controls varying by model. For supported frame-based runs, a first frame is required and a last frame may be available.
The Cut Continuity Ledger is an editorial worksheet, not a claimed native Genflow approval feature. Keep it in your production system of record. Pass approved source assets and boundary frames into the workflow, keep each candidate output tied to its settings, and use the ledger to decide which take moves to the edit.
If you need to choose the generation path first, use the text-to-video tool guide or image-to-video tool guide. Recheck the live model controls before production because availability and parameters can change.
Research and preparation notes
Genflow Editorial reviewed ten current primary, research and high-ranking workflow sources, compared the topic against existing Genflow intent owners, and designed the cut-level ledger from scratch. Automated tools helped organize evidence, draft the article and create the conceptual cover.
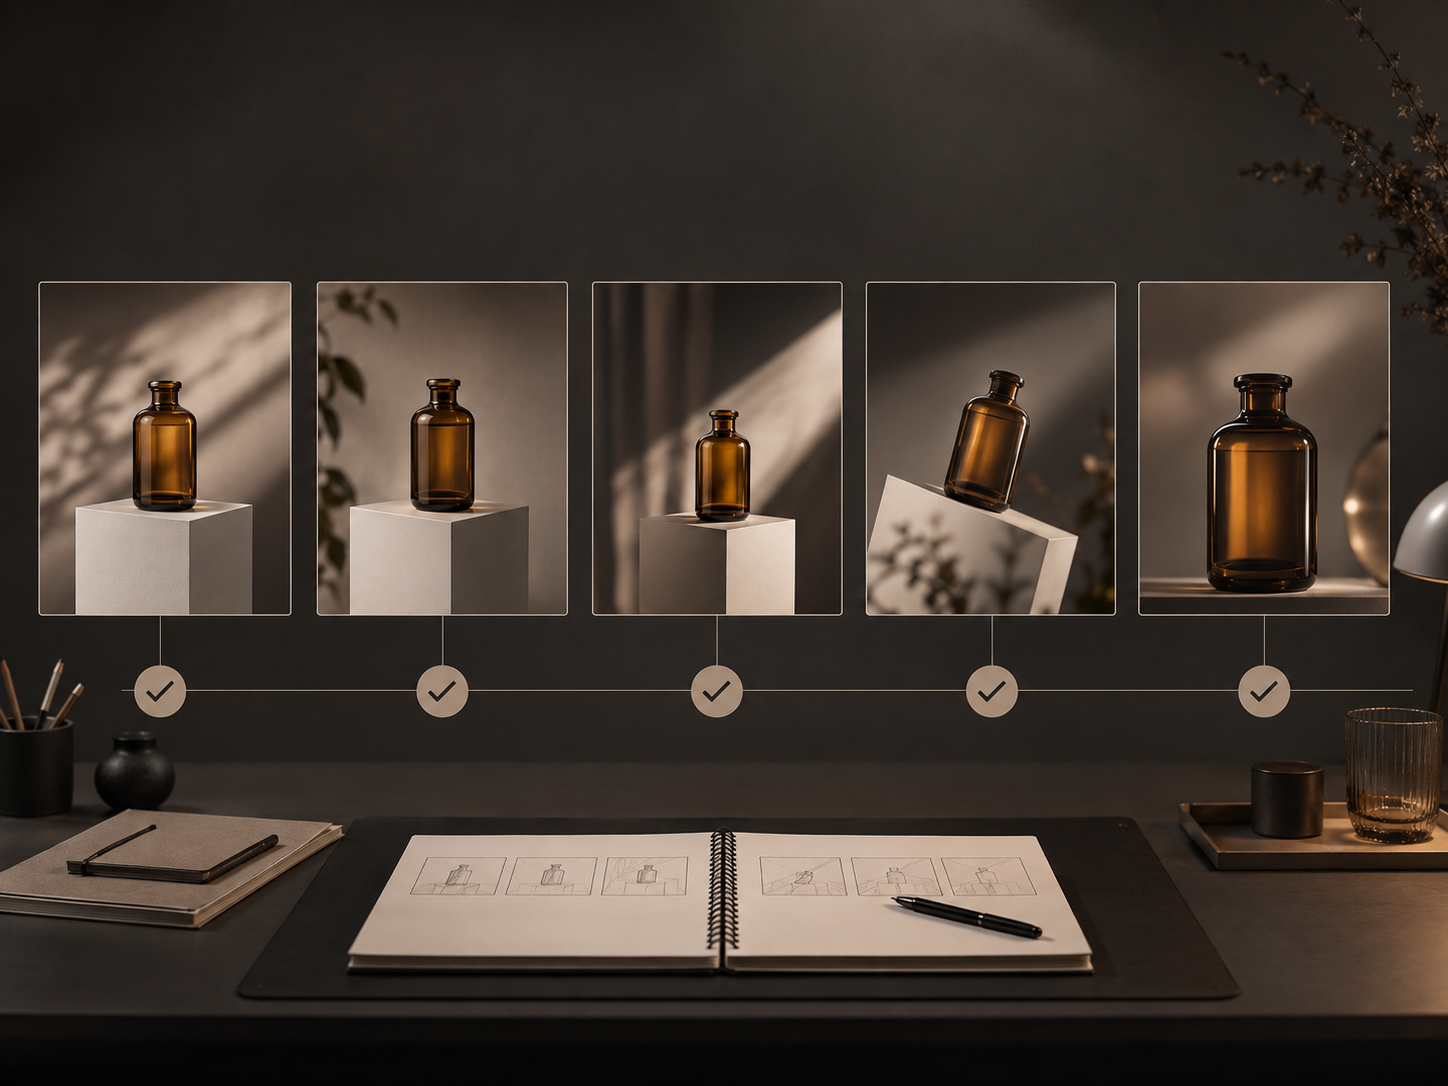
The cover is an original continuity-workflow metaphor. It is not a Genflow interface, a vendor benchmark, a customer sequence or proof that a model preserved the depicted product. No success rate, savings, approval result or continuity guarantee is claimed.
Approve the cut, not just the clips
Before export, every cut should have an approved left take, approved right take, observable comparison, severity and named repair or acceptance decision. If the editor cannot explain why the exit and entry states belong together, the sequence is not finished—even when both clips look excellent alone.
Turn this method into a reusable workflow
Start from one product asset, ad concept, or template and save repeatable production steps as a Genflow workflow.